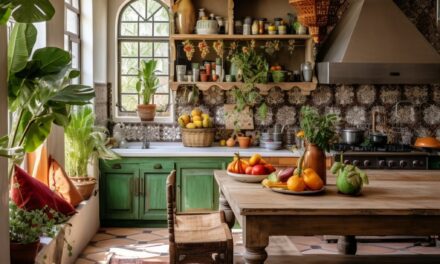
In my exploration of interior design trends, I have found that styles often come and go, but there’s one in particular that has recently piqued my interest – the Japandi style.
A seamless fusion of Japanese and Scandinavian design philosophies, Japandi is gaining popularity as a minimalist yet warm, functional yet aesthetic approach to home decor.
Now, where does the coffee table fit into this harmonious blend?
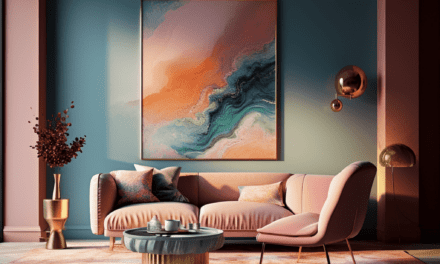
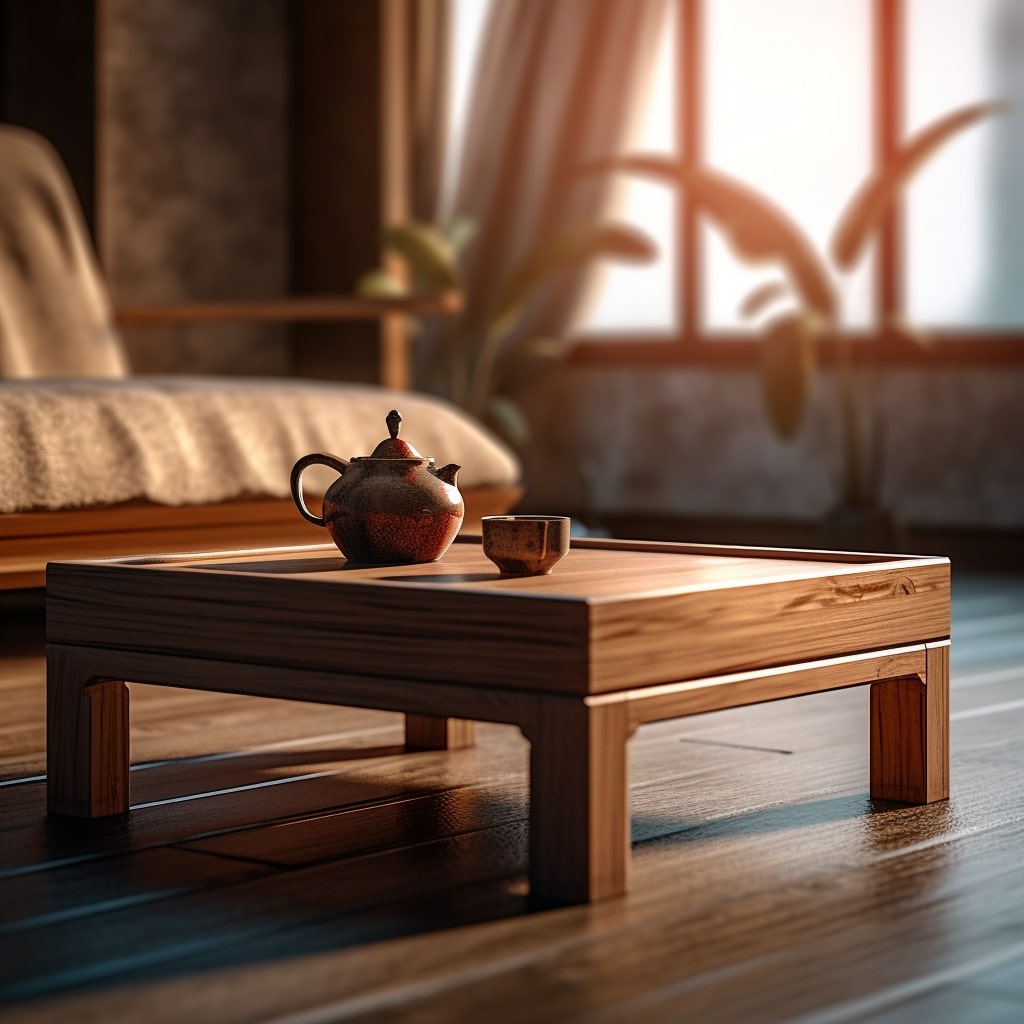
In a Japandi-inspired living room, a coffee table isn’t just a functional piece of furniture; it can be a centerpiece that embodies the spirit of the design philosophy. It serves as a symbol of minimalist design and thoughtful functionality.
A typical Japandi coffee table is more than just a surface to set your coffee cup; it’s a statement of your commitment to live simply and purposefully.
A coffee table in a Japandi-styled room doesn’t scream for attention.
Instead, it seamlessly integrates with the rest of the decor to create a balanced, tranquil space.
It doesn’t complicate; it simplifies. It’s a place to display a few cherished items, perhaps a potted plant or a carefully selected book, not a storage area for clutter.
The ‘Japandi’ in Japandi Coffee Tables
Japandi design is more than just a blend of two cultures; it’s a unique fusion that celebrates certain principles intrinsic to both.
Minimalism in Japandi Design
Japandi design is, at its core, an embodiment of minimalism. Just as the Japanese philosophy of Zen encourages simplicity and clarity of mind, and Scandinavian design champions clutter-free living, Japandi also embraces minimalism as a fundamental principle.
This is evident in the way Japandi rooms are furnished. There is no room for clutter or excess in a Japandi space; every piece of furniture, including the coffee table, serves a purpose. Especially when you’re in a smaller space like a Japandi-style apartment.
The Importance of Natural Materials
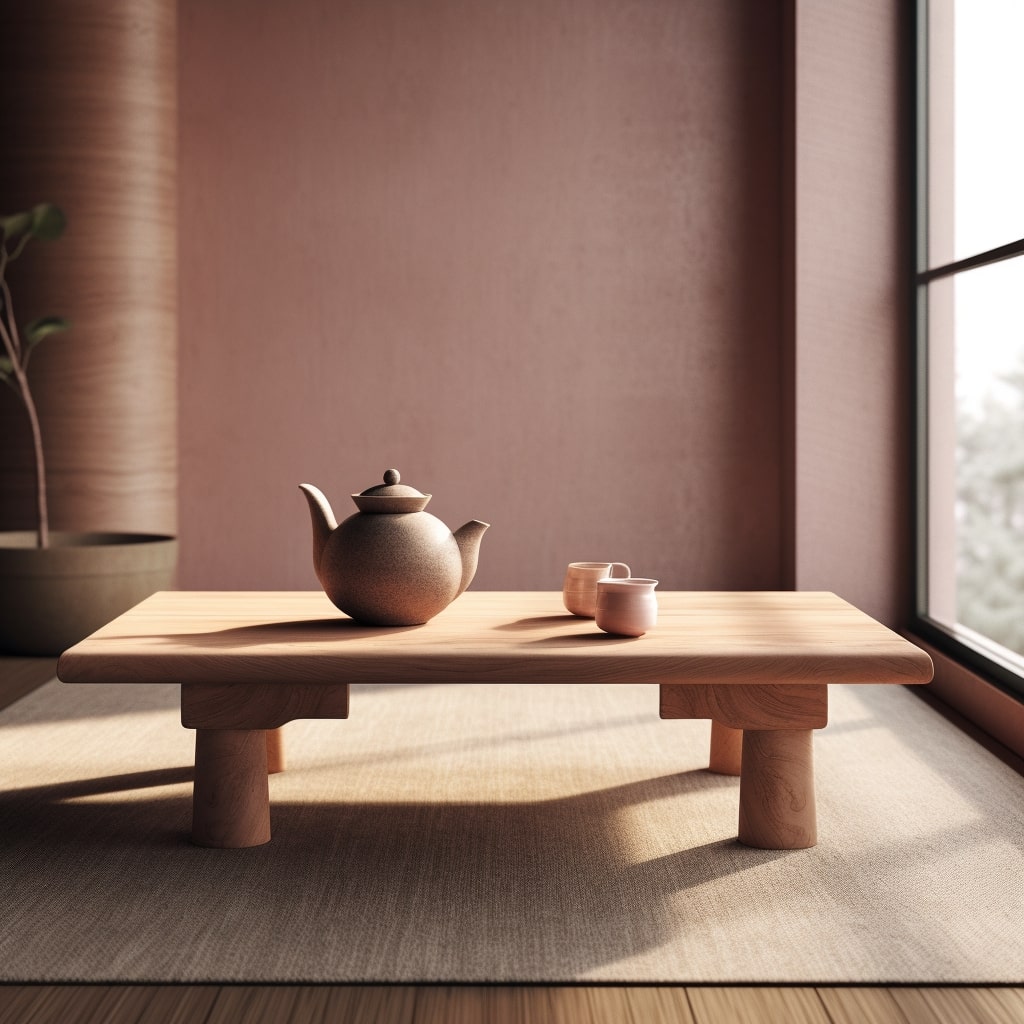
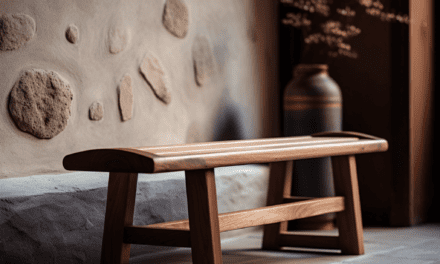
Wood, in particular, is a favored choice for its warmth and texture. From light woods like ash and birch that are often found in Scandinavian design, to the darker hues of walnut and oak that are typical in Japanese design, Japandi style combines these with a masterful touch.
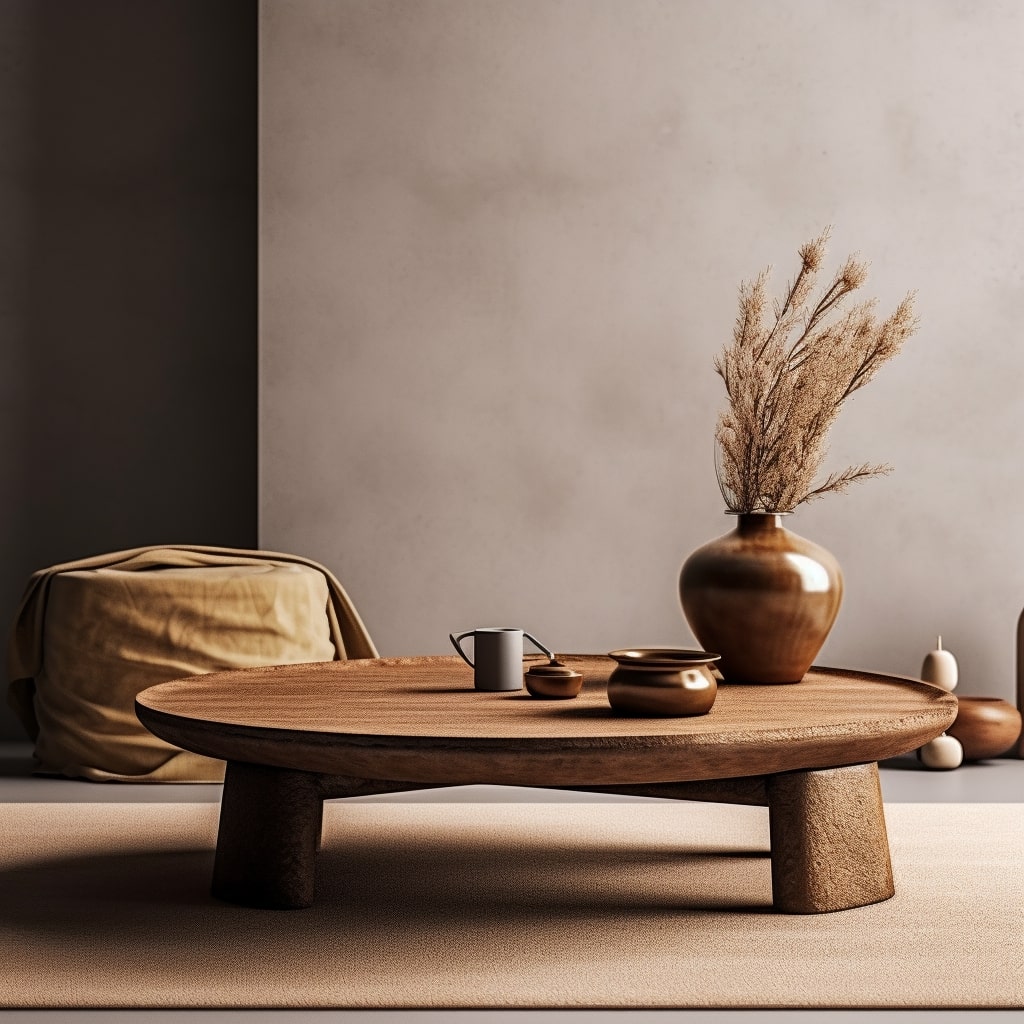
A Japandi coffee table, for example, might feature a beautiful wooden top with a raw, unvarnished finish that highlights the grain of the wood. Other natural materials like bamboo, stone, and even paper can also make an appearance, reinforcing the connection to nature that is central to the Japandi aesthetic.
Functionality and Form in Japandi Design
In the world of Japandi, functionality is as important as form.
For instance, a Japandi coffee table might have a simple, sleek design, yet offer ingenious storage solutions or adjustable features to suit various needs. It’s not just about looking good—it’s about working well too.
The Role of Color in Japandi Style
These colors play a crucial role in setting the mood and atmosphere of a Japandi space. They create a calming, serene environment that invites relaxation and contemplation. A Japandi coffee table, thus, will often echo these color schemes, subtly enhancing the overall aesthetic of the room.
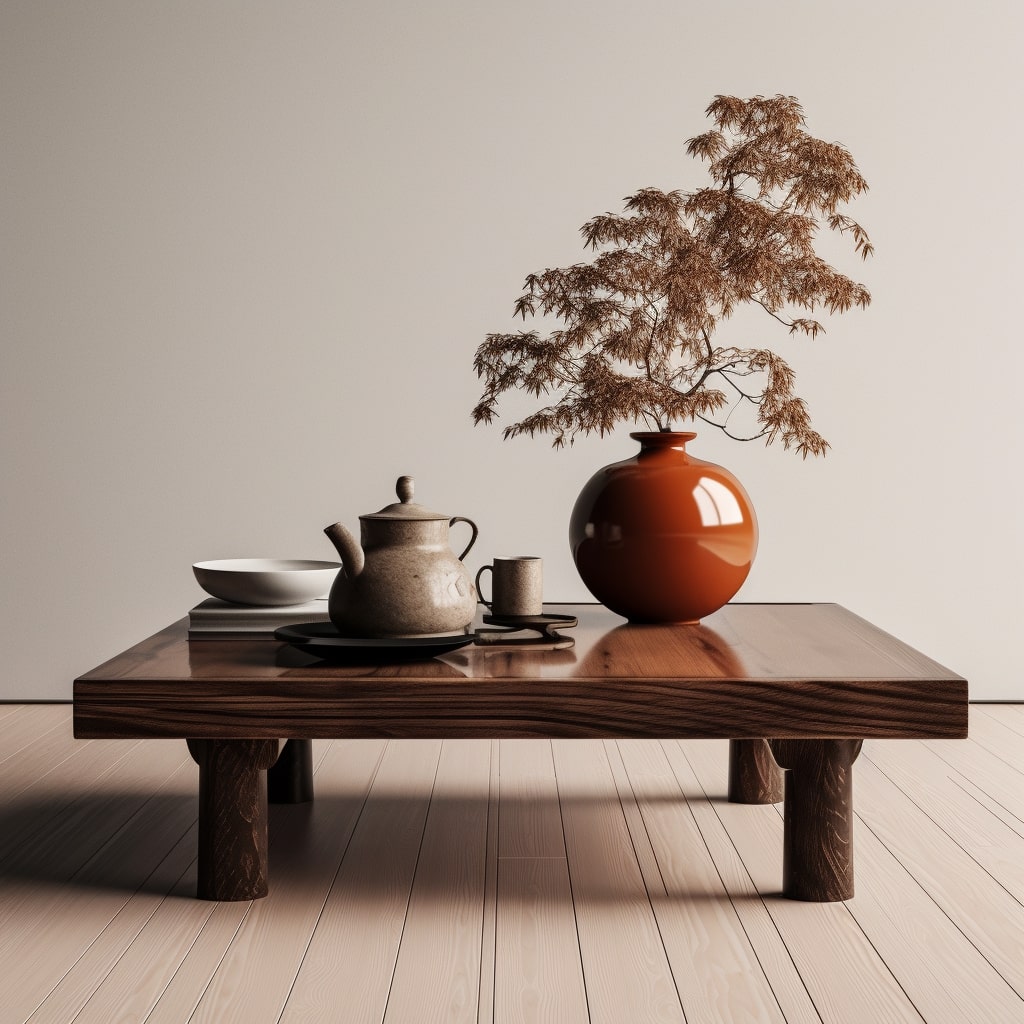
Japandi Coffee Table – Functionality and Aesthetics
The Art of Creating Balance in a Japandi Coffee Table
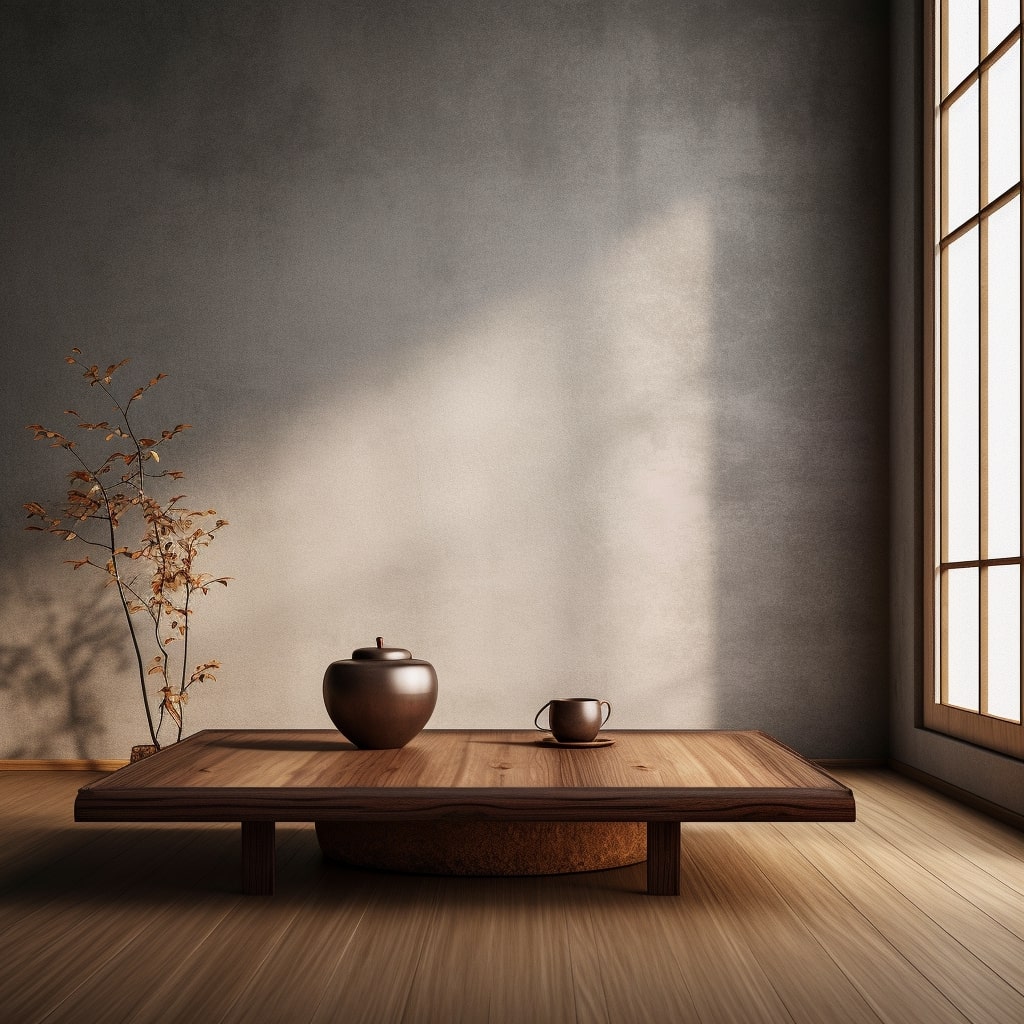
Creating balance is at the heart of a Japandi coffee table. Balance doesn’t necessarily mean symmetry, but rather a thoughtful and harmonious composition of elements. For me, it’s about juxtaposing clean, straight lines with the raw, organic forms of nature. It’s about contrasting a dark, sleek wooden table surface with a lighter, textured rug underneath for example.
It’s also about creating balance between emptiness and fullness. In the spirit of Zen, a Japandi coffee table isn’t crowded with items, but carefully curated with just enough elements to create a sense of harmony and peace.
Size and Shape Considerations for Japandi Coffee Tables
When I think about the size and shape of a Japandi coffee table, I consider the overall layout of the room. Japandi design values open, airy spaces, so it’s essential that the coffee table doesn’t overcrowd the room.
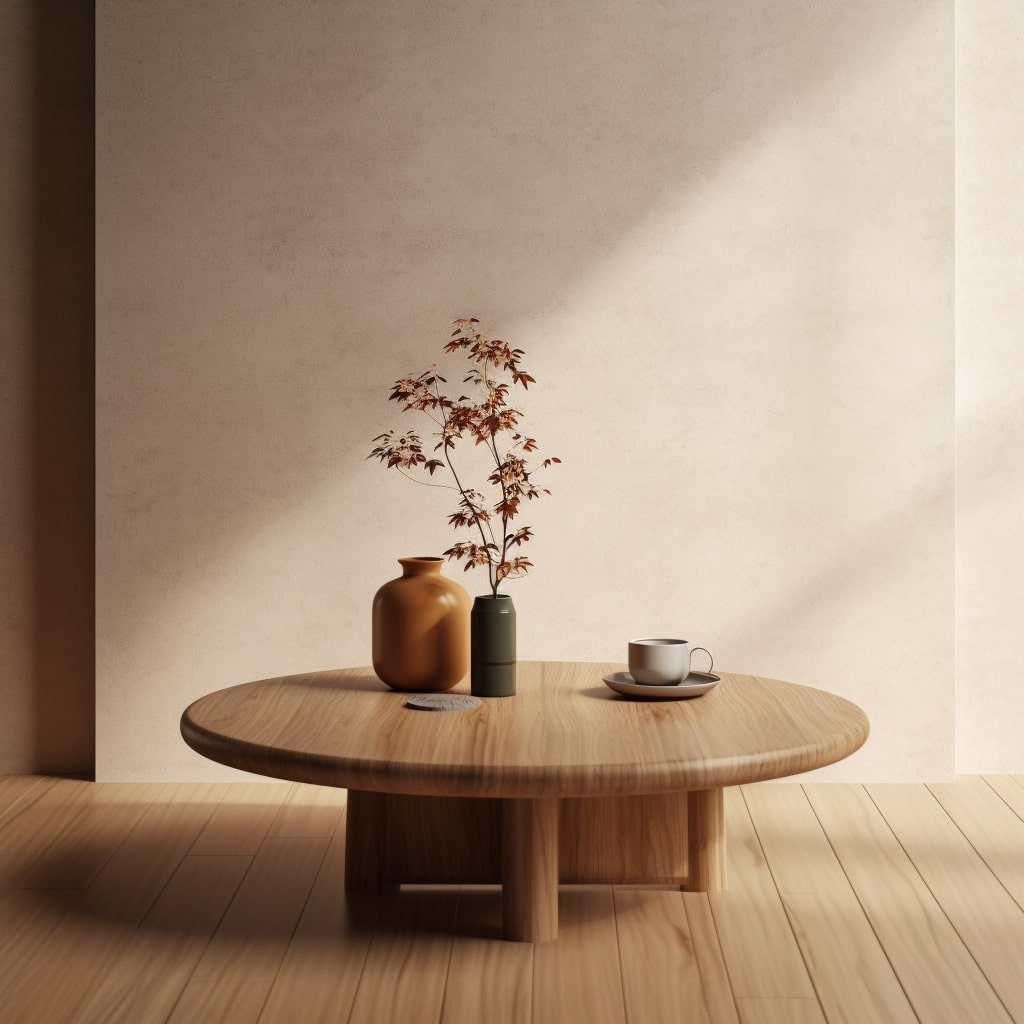
Typically, Japandi coffee tables lean towards the smaller end of the spectrum, with a preference for round or oval shapes to soften the lines of the room. However, the key is to find a coffee table that fits well within the room, maintaining its functionality without sacrificing the openness of the space.
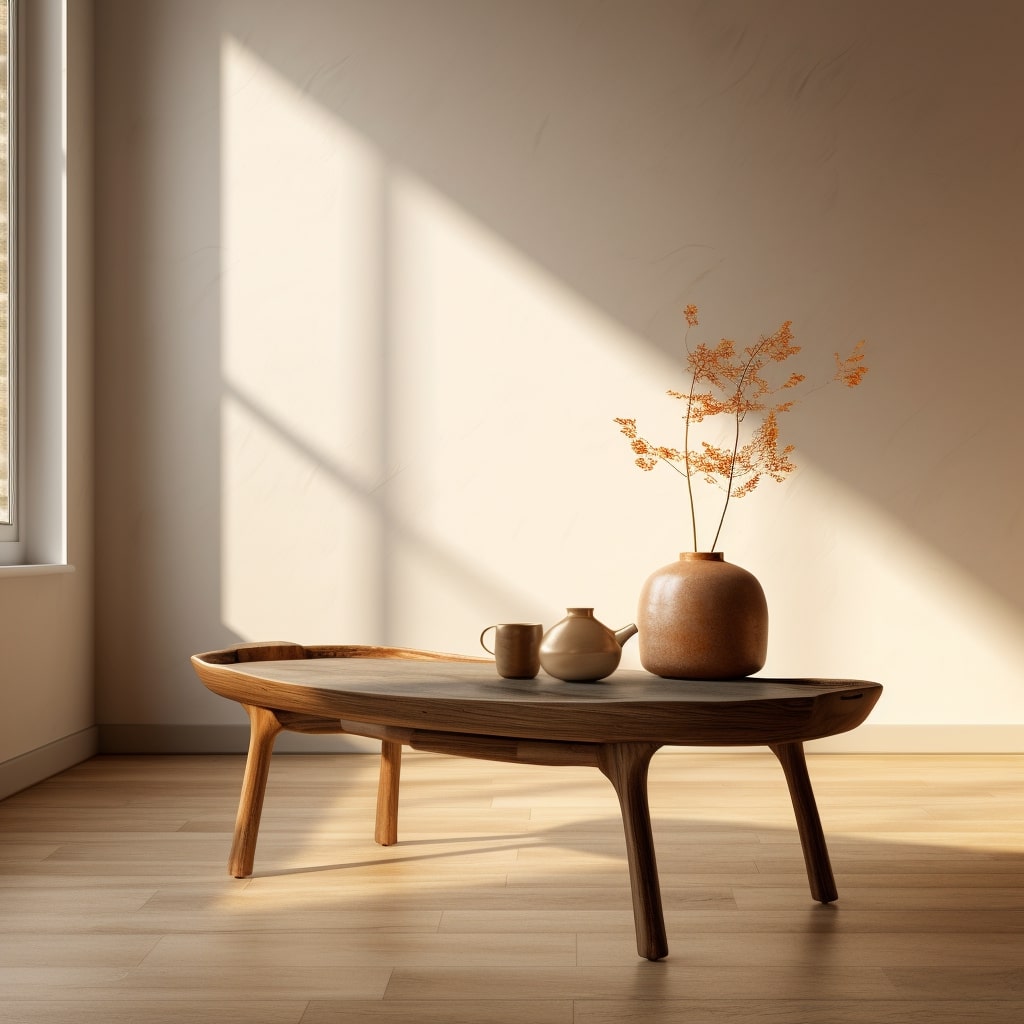
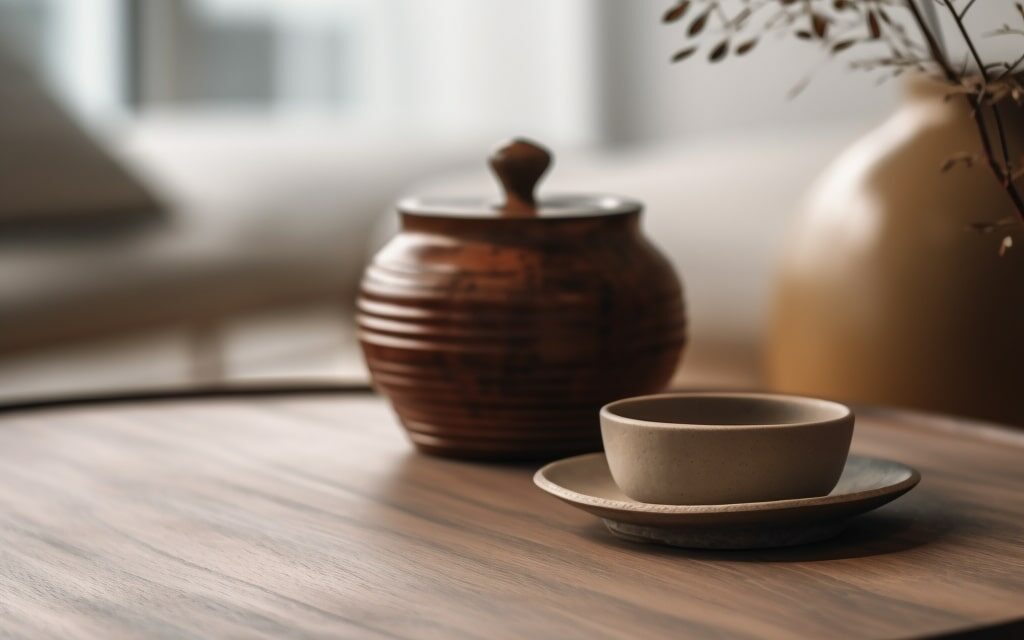
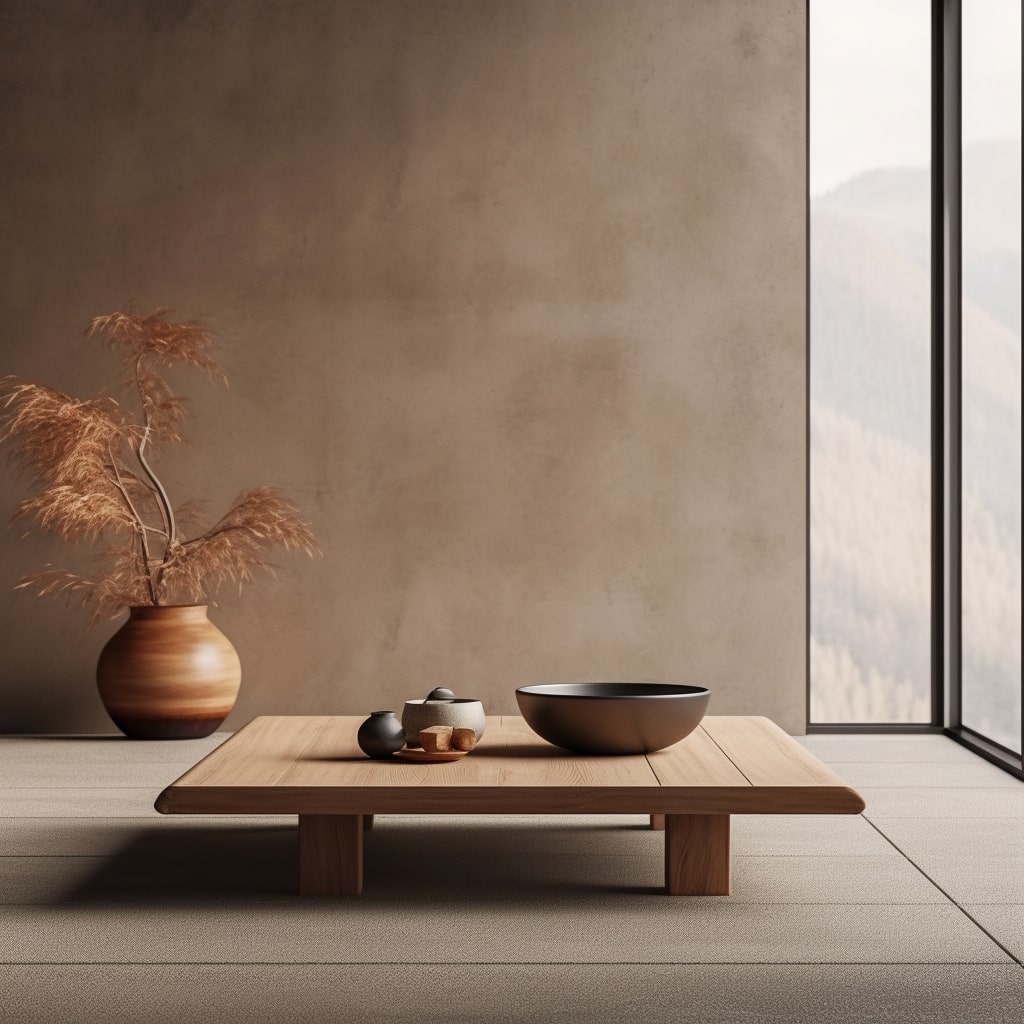
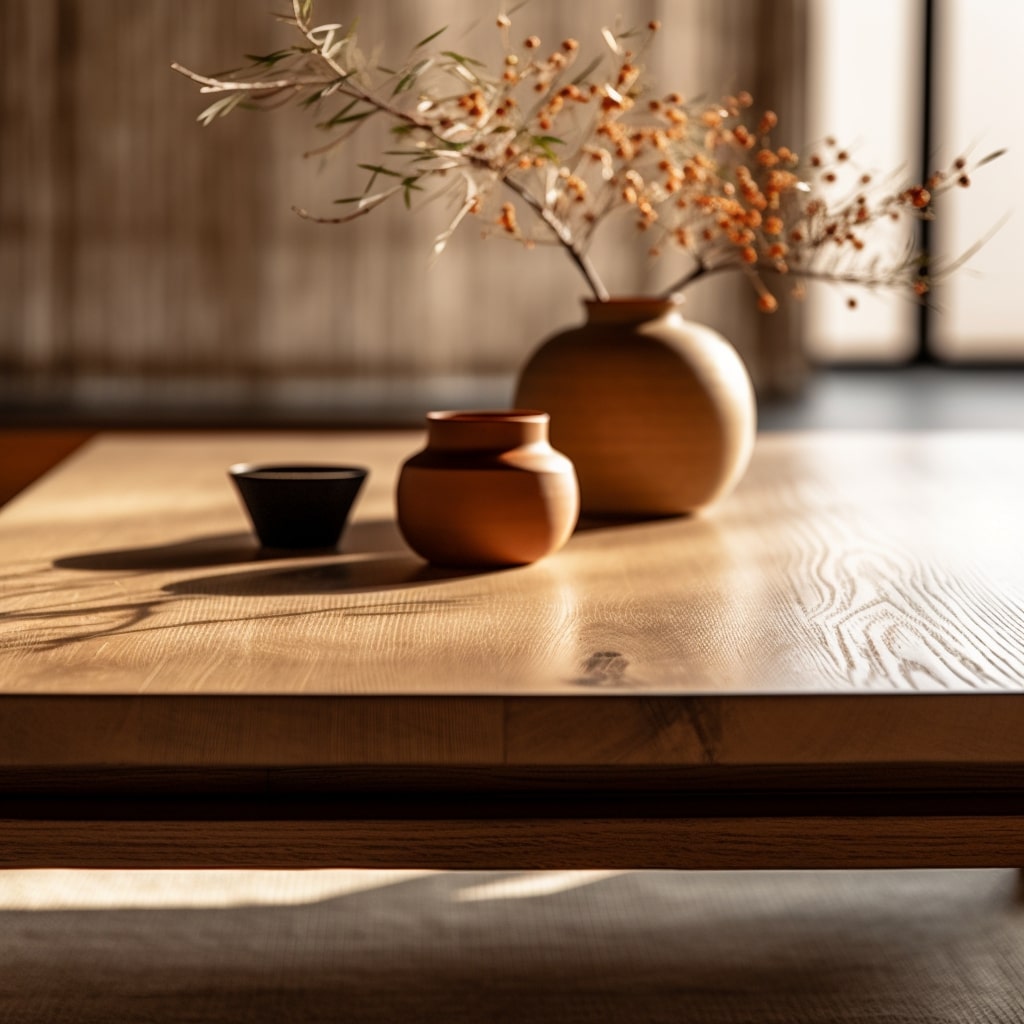
The Use of Texture in Japandi Coffee Tables
One of my favorite aspects of Japandi design is the use of texture, and the Japandi coffee table is no exception. Often crafted from natural materials, these coffee tables introduce a tactile element into the room.
It could be the smoothness of a polished wooden surface, the roughness of a raw stone embellishment, or even the grainy texture of a hand-woven table runner.
Key Features of Japandi Coffee Tables
As we delve deeper into the artistry of Japandi coffee tables, certain characteristics begin to stand out:
Material Selection for Japandi Coffee Tables
In my experience with Japandi coffee tables, natural materials are king. The raw, organic beauty of materials like wood, stone, bamboo, and even glass is truly celebrated. The grain of the wood, the color variations in stone, the strength and flexibility of bamboo — all these natural elements contribute to the charm and appeal of Japandi coffee tables.
Color Choices for Japandi Coffee Tables
The palette is heavily inspired by nature, featuring earthy tones, pastels, and neutrals. I’ve noticed that darker hues of wood, such as walnut and oak, are often paired with lighter accents in cream, beige, or soft grey, creating a delightful contrast.
Form and Function in Japandi Coffee Tables
Japandi coffee tables are a testament to the principle of harmony between form and function. I’ve seen tables with hidden storage compartments, adjustable heights, and modular designs that adapt to different needs.
Space and Proportion in Japandi Coffee Tables
Lastly, these tables are designed to fit harmoniously within a space, without dominating or cluttering it. Proportions are carefully considered to maintain balance and ensure the table complements, rather than overwhelms, the rest of the room.
Moreover, a Japandi coffee table respects the concept of negative space or ‘Ma’ in Japanese aesthetics. This principle emphasizes the beauty of emptiness, of what is not there, as much as what is.
Buying a Japandi Coffee Table: Things to Consider
It’s more than just picking a piece that looks good — it’s about finding something that embodies the Japandi spirit and fits seamlessly into your living space.
Ensuring Quality of Materials and Construction
When it comes to buying a Japandi coffee table, one of the first things I consider is the quality of materials and construction.
Given the importance of natural materials in Japandi design, it’s crucial to ensure that the materials used in your coffee table are of good quality and sustainably sourced.
Whether it’s solid wood, stone, or glass, the materials should showcase their natural beauty and durability.
Additionally, the construction of the table should reflect a level of craftsmanship and attention to detail that is characteristic of both Japanese and Scandinavian design traditions.
Matching a Japandi Coffee Table to Your Existing Decor
Another important aspect to consider is how the coffee table will fit in with your existing decor. Because Japandi style is about harmony and balance, the coffee table should complement the other elements in the room, rather than clash with them.
I find that a good way to achieve this is by considering the colors, textures, and materials present in the room.
For instance, if the room features a lot of light wood and soft fabrics, a coffee table with a similar color palette and texture would fit in beautifully.
Considering the Size and Scale of Your Space
Size and scale are also key considerations when choosing a Japandi coffee table. The coffee table should not overcrowd the room or obstruct movement.
Before making a purchase, I always suggest measuring your space and considering the proportion of the coffee table in relation to the rest of the room’s furniture. This can help ensure that the table is the right fit for your space.
Price Ranges for Japandi Coffee Tables
Finally, the price of Japandi coffee tables can vary widely, depending on factors such as the materials used, the complexity of the design, and the brand. However, it’s important to remember that in Japandi design, value is often found in simplicity and functionality, rather than luxury or extravagance.
While it’s possible to find high-end Japandi coffee tables that command higher prices, there are also plenty of affordable options that still uphold the principles of this design philosophy.
I advise setting a budget that aligns with your needs and values, and then finding a piece that meets these criteria.
DIY Japandi Coffee Table: An Expression of Personal Taste
As someone who cherishes the spirit of creativity and personalization, I’ve come to realize that creating your own Japandi coffee table can be a rewarding experience.
It’s not only about having a unique piece of furniture in your home but also about expressing your personal taste and connecting with the Japandi philosophy on a deeper level.
Essential Materials for a DIY Japandi Coffee Table
In my experience, crafting a DIY Japandi coffee table requires a select few, high-quality materials.
Given the focus on natural elements in Japandi design, I would suggest starting with a beautiful piece of wood for the table top. This could be a solid slab of oak, walnut, or even reclaimed wood.
In addition, consider incorporating other natural elements, such as glass or stone, for added texture and interest.
Finally, a sturdy frame is essential. This could be made from metal or wood, depending on your preference and the look you’re aiming for.

Step-by-Step Guide to Creating Your Own Japandi Coffee Table
- Start by planning your design. Consider the size, shape, and features of your coffee table.
- Make a sketch to visualize your idea.
- Select and source your materials. Look for high-quality, natural materials that align with the Japandi aesthetic.
- Prepare the table top. If you’re using wood, this might involve sanding, sealing, and finishing the wood to enhance its natural beauty and ensure its durability.
- Construct the frame. Whether it’s a simple four-leg design or a more complex structure, ensure that it is sturdy and well-crafted.
- Assemble the table. Attach the tabletop to the frame. Make sure it is securely fixed and stable.
- Add the finishing touches. This could include adding a glass surface, installing a shelf or drawer, or adding protective pads to the feet of the table.
Remember, the beauty of a DIY project is that you can adapt it to your personal preferences and needs. So feel free to make your own modifications to this guide to create your perfect Japandi coffee table.
Tips for Perfecting Your DIY Japandi Coffee Table
In my journey of crafting DIY Japandi coffee tables, I’ve learned a few tips that can help perfect the final product:
Keep it simple: The essence of Japandi design lies in simplicity. Avoid overcomplicating your design or cluttering your table.
Embrace imperfection: In line with the Japanese philosophy of Wabi-sabi, don’t be afraid of minor imperfections. They can add character and authenticity to your table.
Opt for quality over quantity: Invest in high-quality materials. They may cost a bit more, but they will enhance the look and longevity of your table.
How to Style Your Japandi Coffee Table
Having a Japandi coffee table in your living room is one thing; knowing how to style it to maximize its aesthetic impact is another.
As someone who has spent countless hours experimenting with different setups, I can assure you that the styling process can be as enjoyable as it is rewarding.
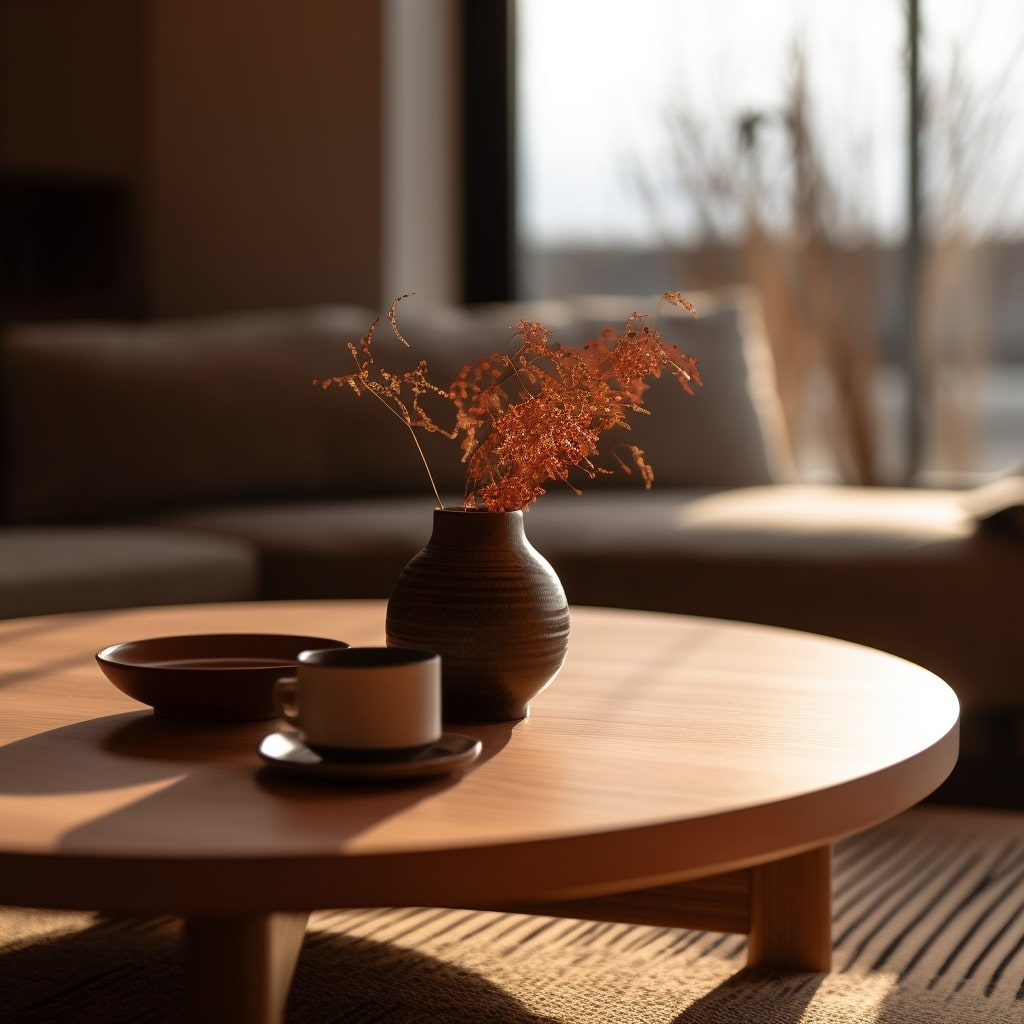
Effective Use of Negative Space
When it comes to styling your Japandi coffee table, one principle I always adhere to is the effective use of negative space.
Just as in Japandi interior design, the concept of ‘Ma’ or ‘space’ plays a crucial role. This is about appreciating the beauty of emptiness and understanding that it, too, is a part of the design.
When arranging items on your coffee table, resist the urge to fill every inch of it. Instead, allow for areas of ‘nothingness’.
This doesn’t mean that your table should feel empty or barren; it simply suggests that there should be a sense of balance between what is there and what isn’t.
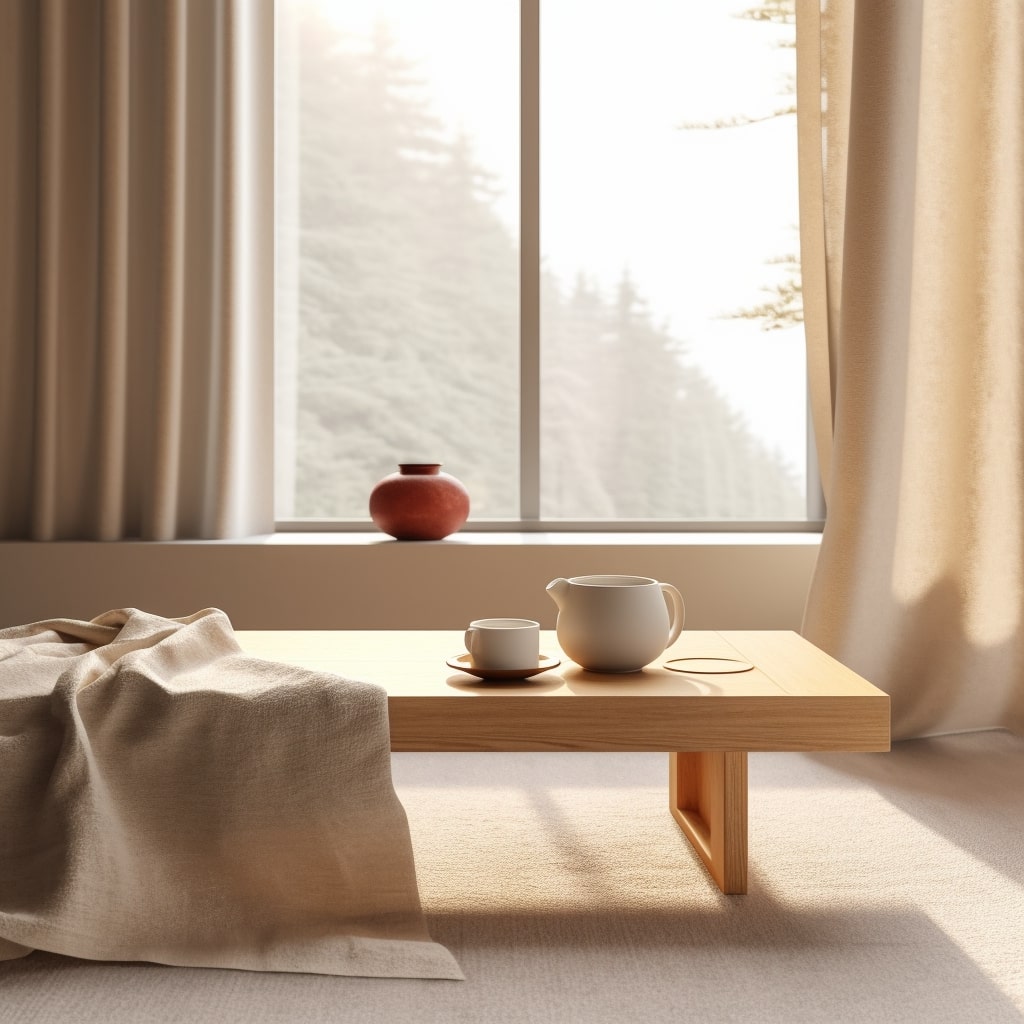
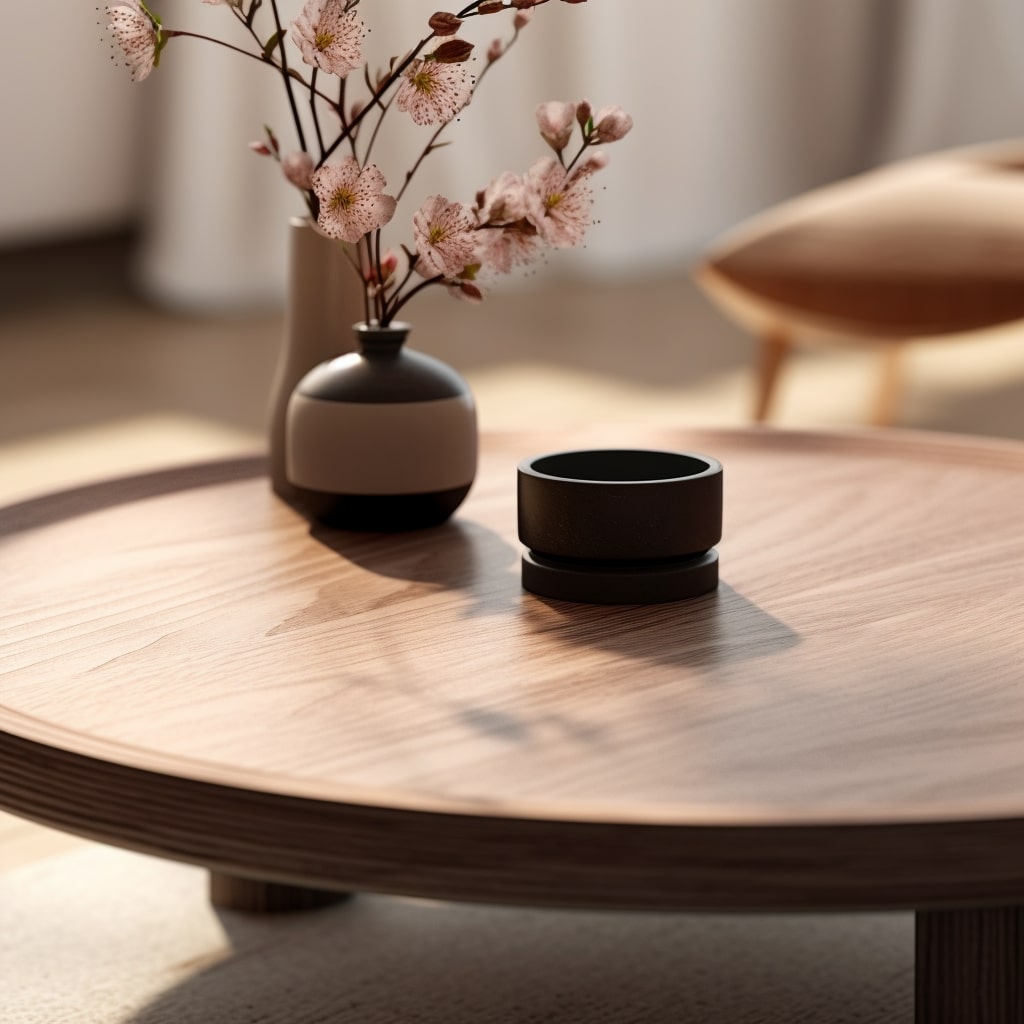
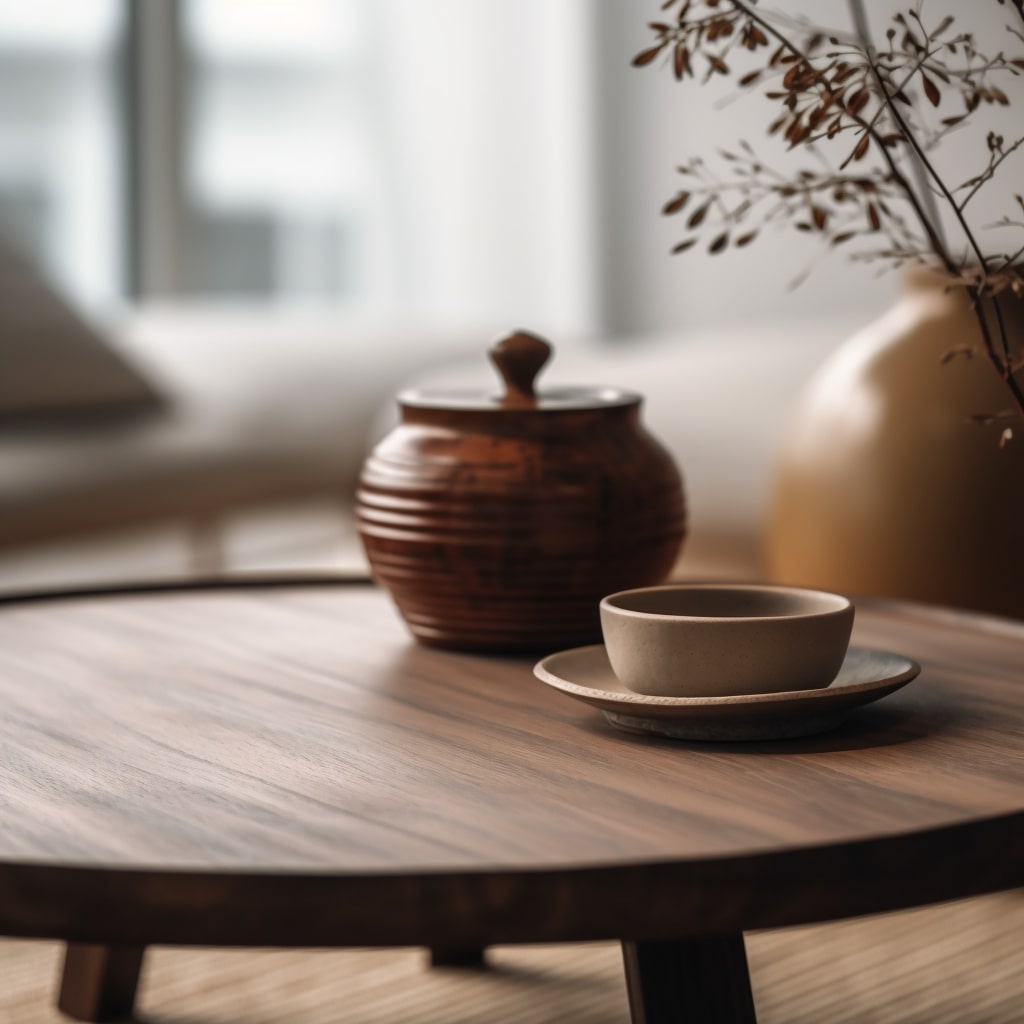
Using Decorative Elements to Enhance Japandi Design
Choosing the right Japandi decorative elements can make a huge difference to the overall look and feel of your Japandi coffee table.
I recommend using elements that not only look good but also resonate with the philosophy of Japandi design.
It could be a beautiful handcrafted ceramic bowl, a vase with fresh flowers or a small potted plant.
You could also use books with minimalist covers or a candle with a calming scent.
Remember, less is more when it comes to Japandi style, so curate your items carefully and avoid cluttering your table.
Color Coordination and Theme Consistency
Finally, when styling your Japandi coffee table, I can’t stress enough the importance of color coordination and theme consistency. Staying true to the natural, muted color palette of Japandi design can help create a sense of harmony and balance.
Try to echo the colors found in your coffee table in your decorative elements. For instance, if your table is made of warm-toned wood, consider using decor in earth tones, beiges, or soft pastels. And if you have a darker table, contrast it with lighter elements.
Consistency is also key. If your table embodies the simplicity and elegance of Japandi design, the items you display on it should reflect the same aesthetic. Stick to a cohesive theme that complements not only the table itself but also the rest of your interior.
FAQs
What is Japandi style furniture?
Japandi style furniture blends Japanese minimalism with Scandinavian functionality. It features simple, sleek lines, natural materials, and a muted color palette, emphasizing both aesthetics and practicality.
What is the difference between Scandi and Japandi?
While both styles value minimalism and functionality, Japandi places more emphasis on natural materials and a warmer color palette compared to the traditionally lighter, cooler hues of Scandi design.
What are the features of Japandi design?
Japandi design combines simplicity, minimalism, and functionality. It favors natural materials, muted colors, clean lines, and incorporates a balanced use of space.
What shape coffee table takes up less space?
Oval or round coffee tables typically take up less space than square or rectangular ones, making them a good choice for smaller rooms.
Does a coffee table make a small room look smaller or bigger?
The impact of a coffee table on a room’s perceived size depends on its size, shape, and placement. A correctly sized and strategically placed coffee table can enhance the room’s spaciousness.
Is it OK for a coffee table to be lower than a couch?
Yes, it’s typically acceptable for a coffee table to be lower than a couch. The ideal height for a coffee table is about 1-2 inches lower than the sofa seat.
Is a round coffee table better for small spaces?
Yes, round coffee tables are often better for small spaces as they offer more flexibility in placement and can improve traffic flow due to their lack of sharp corners.
What is the most efficient table shape?
The most efficient table shape depends on the room’s layout and the table’s purpose. However, rectangular tables often accommodate more people, and round tables are good for facilitating conversation.
Does a round coffee table save space?
Yes, round coffee tables can save space, particularly in smaller rooms, due to their compact shape and lack of sharp corners.
How do I choose a coffee table shape and size?
Consider the room’s size and layout, the size of your sofa, and the table’s purpose. Ensure the table complements your existing decor and allows for comfortable movement around it.
What is a modern Japandi coffee table?
A modern Japandi coffee table combines the minimalist aesthetics of Japanese design with the practicality of Scandinavian design. It features natural materials, clean lines, and a muted color palette, offering a harmonious blend of beauty and functionality.
